Pillows of Heaven: Macaroons

photo 3-5

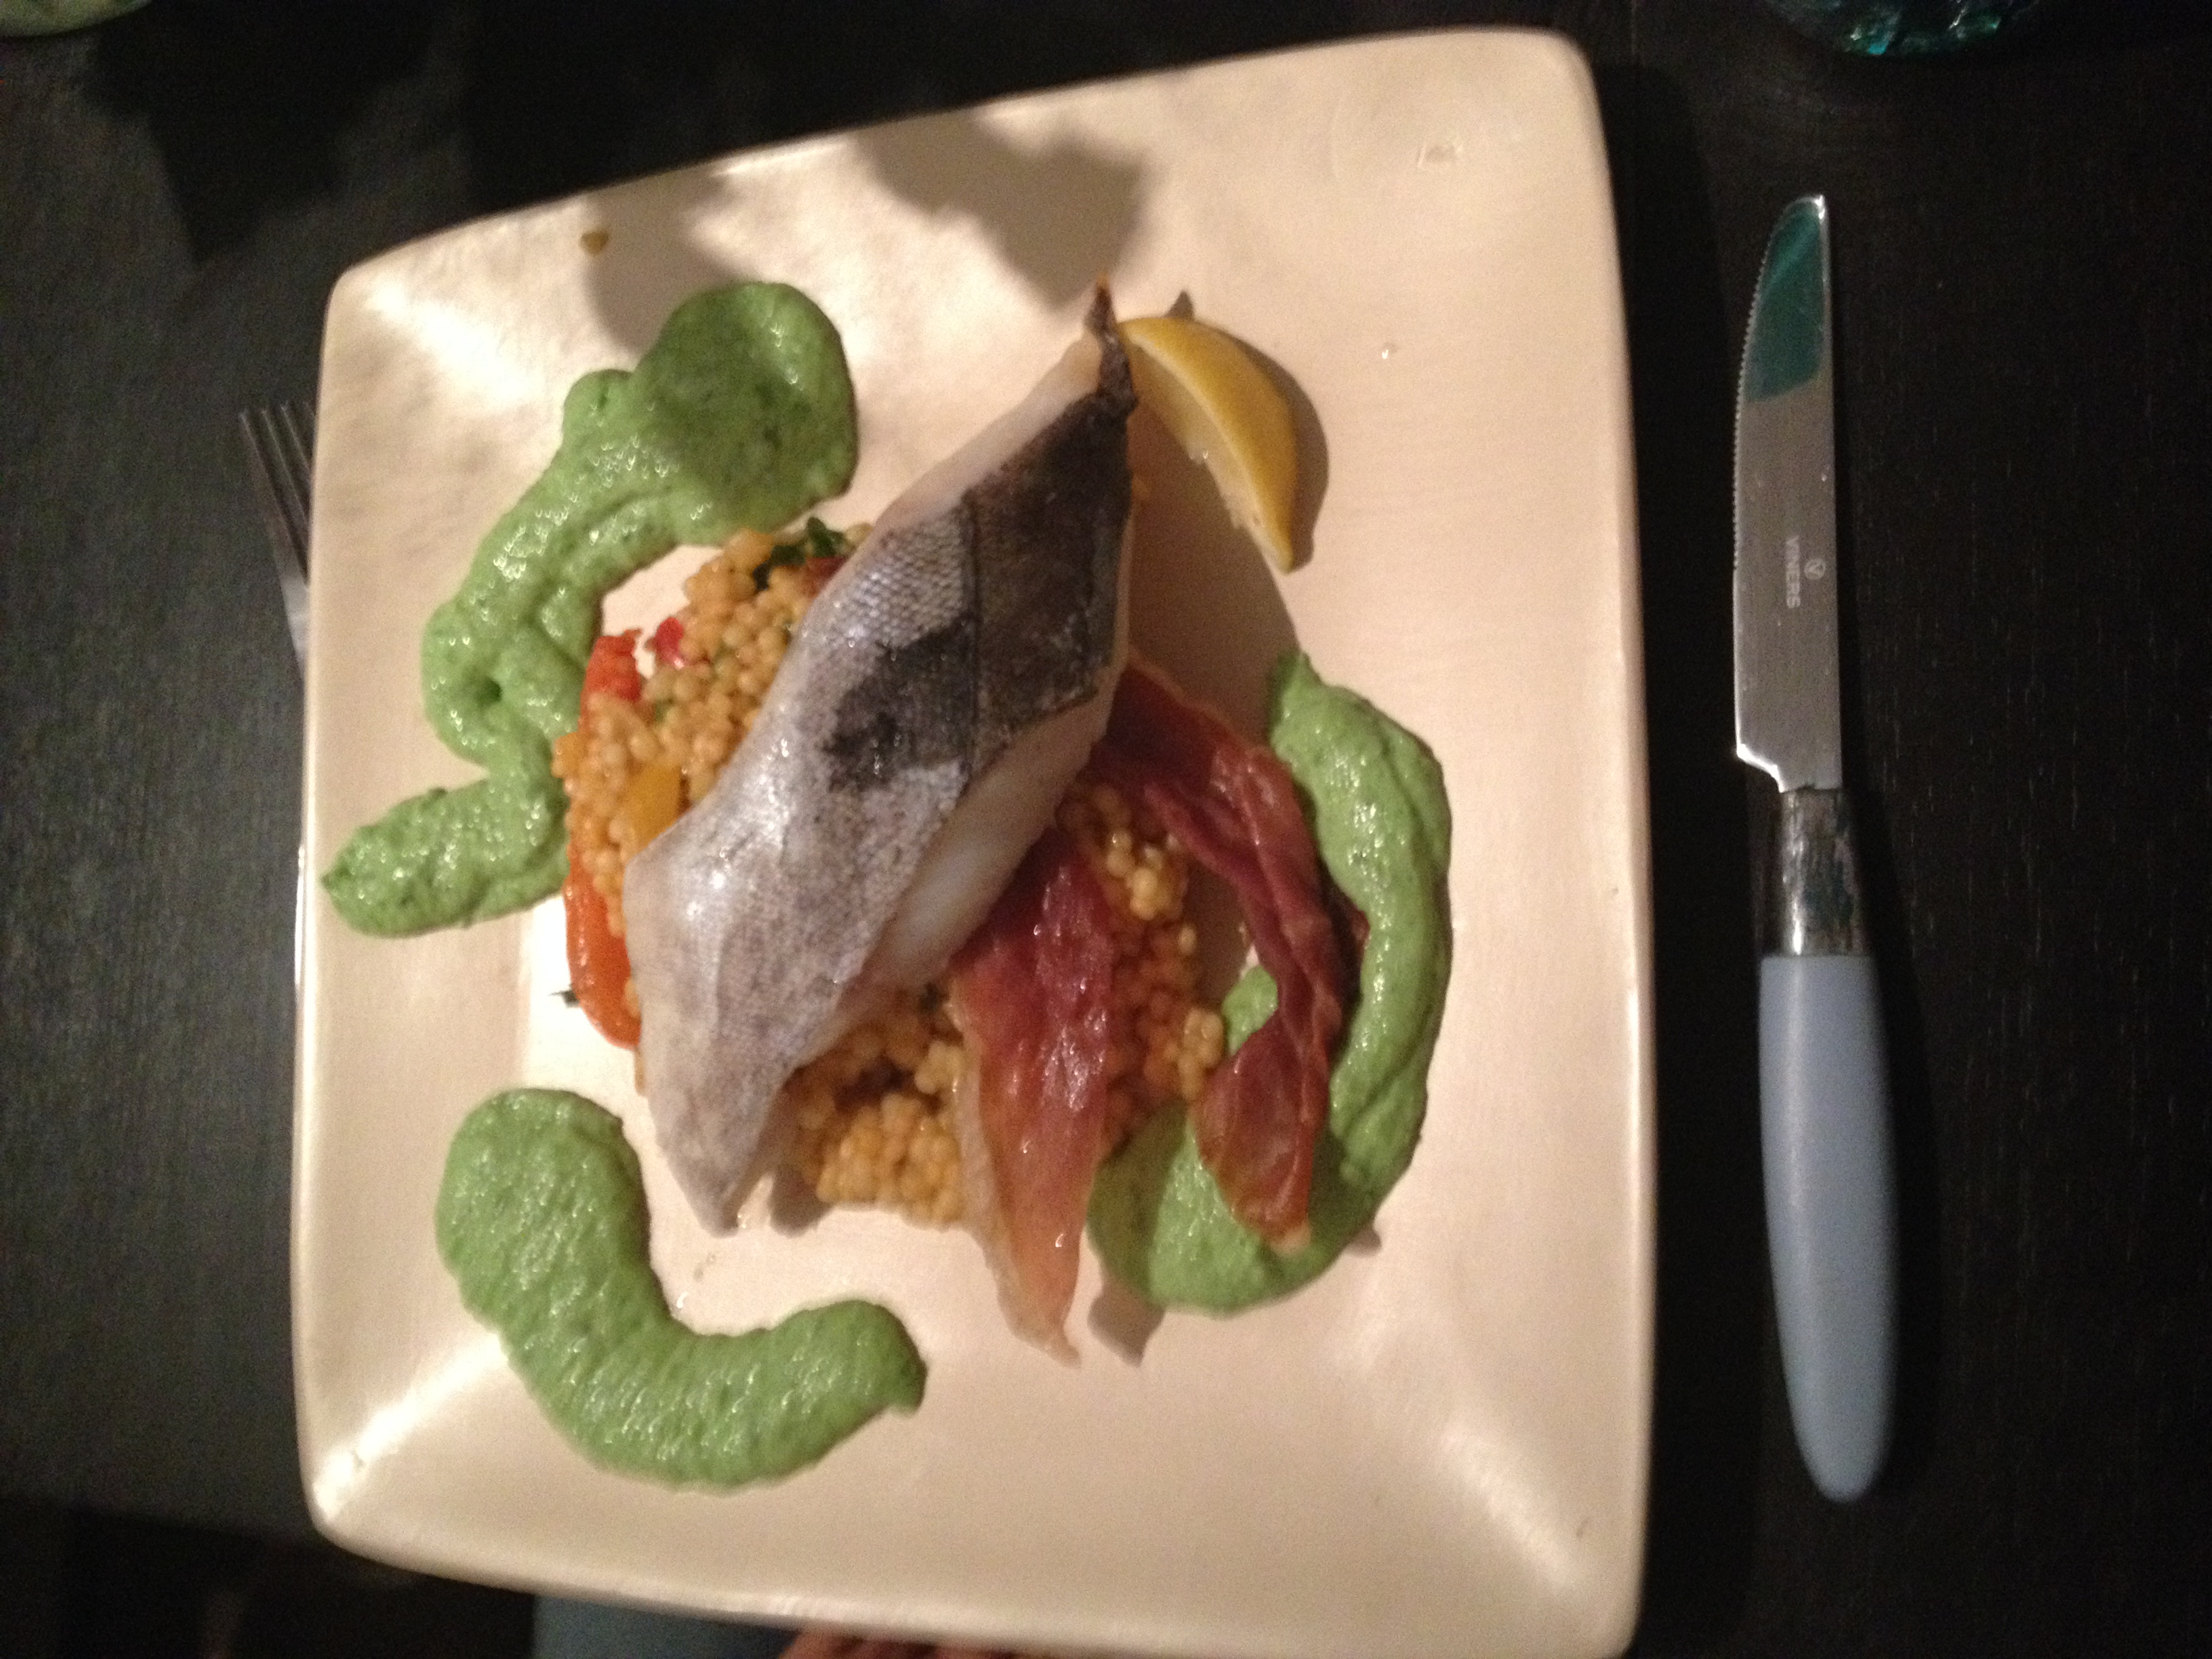
You may or may not have noticed that I am a little bit obsessed with macaroons. The macaroon tour of Paris may have given you a hint. While in Berlin recently I detoured into the nearest Galerie Lafayette to the Macaroon counter to taste the ‘Brazil’ macaroon (Curacao, lime and mint).  My next challenge will be savoury macaroons, watch this space.

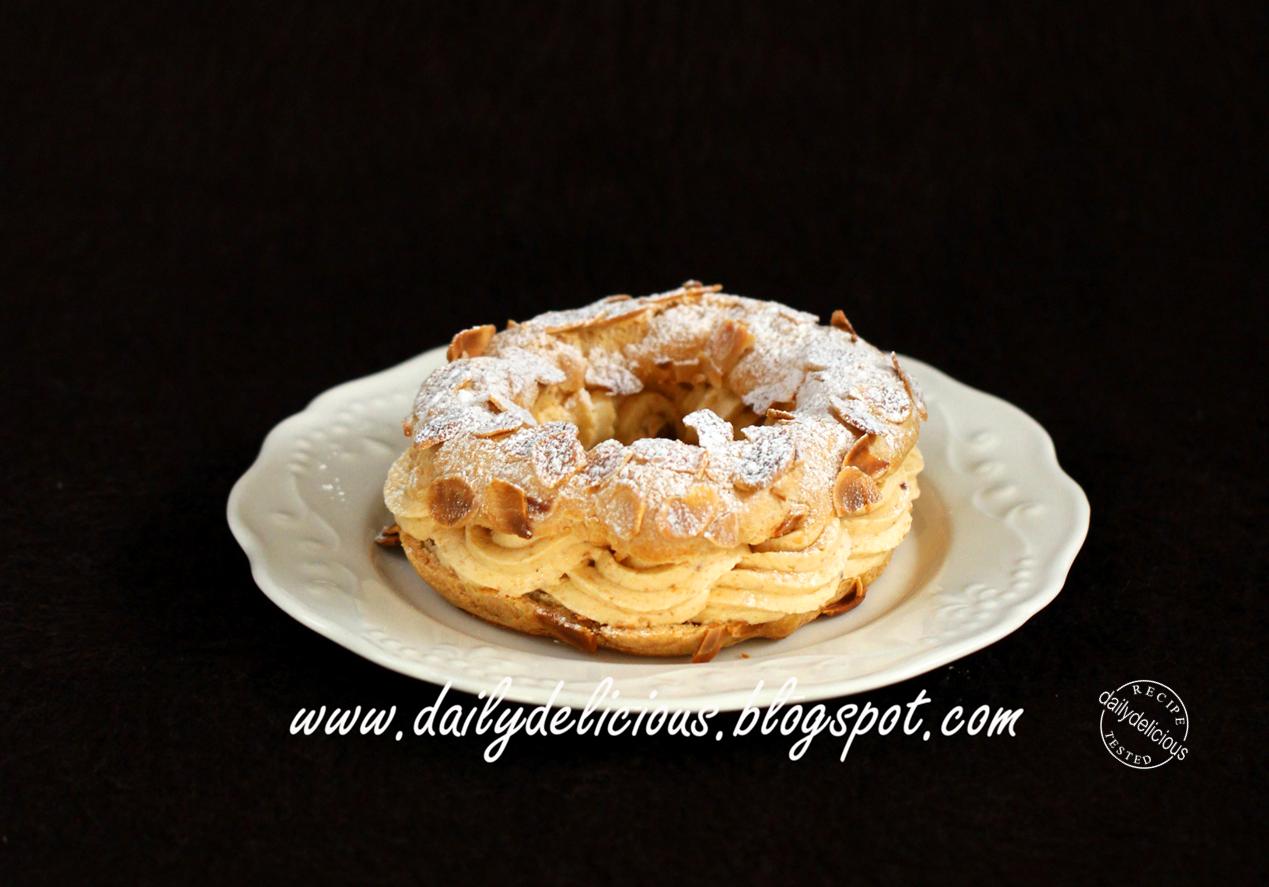
This could be the reason why I’ve shied away from making macaroons, I always worry that I would fail to live up to my expectation. But given the time on my hands (and the excuse of family friends coming over for a drink in the 24hours my parents are here), plus it would be an excuse to use the pretty cake stand, I’ve bitten the bullet. The greatest compliment I got was ‘I thought they were from Maison Blanc, take that Raymond.

The most important things seem to be:

a) The consistency, how long you mix, exact measurements etc

b) Not adding anything that will change the ratios e.g NO extra liquid

c) Baking for the correct length of time


Makes a lot (I split into two different flavoured batches)

4 large egg whites

70g caster sugar

230g icing sugar

120g ground almonds

pinch of salt

gel food colouring (or paste – DO NOT USE LIQUID)

1. Beat the egg whites to stiff peaks, I found using a kitchen aid mixer the easiest. You should be able to turn them upside down on your head without them falling out. Beat in the sugar to shiny thick peaks, then beat for 2-3mins more. They should be really really stiff. Add the gel food colouring and beat for 40sec more.

IMG_2097

IMG_2107

2. Sift the ground almonds, icing sugar and salt into the bowl and fold into the mix with a spatula gently. This should take 30-50 folds, actually count. Too little and the macaroons will be to meringue like and crumble, too much and they will be too dense, I took about 40 folds. The mixture should be thick and shiny but still light and not liquid.

IMG_2098

3. Put into a piping bag (see Baking tips) and pipe small blobs onto a lined baking tray. They should be about the size of a 2p coin. The best way to do this is slowly and gently and pull the piping bag to the side of the macaroon to try and avoid a peak. Drop the macaroon tray from a small height onto the kitchen worktop to get rid of any bubbles, and prevent cracking.

IMG_2104

IMG_2099

IMG_2108

4. Leave for 20mins to develop a skin on top (make sure the kitchen isn’t too warm). Bake in a preheated oven for 20mins at 150oC, turning halfway through to ensure an even bake. They should easily come off the tray, if not they need to be baked more.

IMG_2105

IMG_2106

IMG_2109

5. If you can wait that long, the shells work even better if left in an airtight box overnight.

Flavourings and Fillings

photo 3-6

– This time round I made Raspberry, Popping candy and White Chocolate and Pistachio and Dark Chocolate, but you can experiment with buttercream fillings, jam fillings, cream fillings or other nuts in the shell.

– Mostly it is best to leave the shells flavourless and just add colour, leaving the flavour in the filling. However you can flavour with other nuts, or citrus zest or intense powder flavours, as long as you don’t alter the ingredient ratios too much.

– For Pistachio macaroons replace half the ground almonds with finely ground pistachios (I just ground them myself in a food processor).

Chocolate and Pistachio Ganache

Pistachio Paste

60g pistachios (weight without shells)

15g ground almonds

30g granulated sugar

1tbsp water

2tbsp sunflower oil (I experimented and added a drop of truffle oil as well)

pinch of salt

Chocolate Ganache

150g dark chocolate

75g cream (or half cream, half alcohol)

30g butter

vanilla extract, pinch of salt

1. Toast the pistachios at 200oC for 8mins. Meanwhile heat the sugar and water to about 120oC then toss in the pistachios, coat and leave to cool.

2. Place in a food processor with the almonds and salt. Grind to a fine powder, add the oil so the mixture forms a paste.

3. Heat the cream, vanilla and salt to boil. Meanwhile chop the chocolate finely. Pour over the cream as soon as it reaches the boil. Leave for 1min then stir till chocolate is completely melted. Stir in the butter till melted.

4. Combine the paste and the ganache, put into a piping bag and refrigerate till needed. Bring to room temperature before piping.

IMG_2100

photo 1-6

photo 2-7

White Chocolate and Raspberry Ganache

150g white chocolate

75g cream

2-3 drops raspberry extract

vanilla extract

pieces of freeze dried raspberries

popping candy

IMG_2101

1. Heat cream, raspberry extract and vanilla to boiling. Finely chop the white chocolate. Pour over the cream as soon as it reaches boiling point and stir till chocolate is completely melted. Fold through the raspberries and put in a piping bag.

IMG_2102

IMG_2103

2. After piping into macaroons, sprinkle with a little popping candy before putting shell lid on top.


photo 4-4

photo 1-5

Continental Breakfast

My parents have always been obsessed with croissants, so much so that when my father couldn’t work out where the cereal was kept on his house and left alone for breakfast, there was no question of sending his secretary out to the corner shop to buy him none other than a croissant. What’s not to love? A buttery, flaky pastry that melts in the mouth, a crisp exterior best served warm with lashings of jam. Even the famous ‘French Women Don’t Get Fat Diet’ recommends a small croissant for breakfast as the only way to start the day. Marie-Antoinette is said to have brought these delicate pastries over from Vienna to Paris. Virtually the only thing she would eat, they are even said to have inspired the notorious ‘Let them eat cake’ quotation. Definitely not an everyday bake, rather time consuming, they are nonetheless exceptionally satisfying to make, and make the house smell amazing, making my parents’ only 24 hours in the house in my 2 weeks at home, special.

Makes 13 small croissants

250g plain flour

70g water

70g whole milk

25g sugar

20g unsalted butter

7g yeast

large pinch salt

drop vanilla essence

To Laminate

140g cold butter

1 egg, beaten to wash


1. Mix all the ingredients together ( I used a dough hook on my kitchen aid). When combined knead for 3mins so there is moderate gluten development, too much will cause too much fight back from the dough while ‘laminating’ (adding the butter). The best way to tell is when the dough has turned shiny and doesn’t leave any traces on the side of the bowl. Shape the dough like a disc (so it can be easily shaped into a square later) and leave in the fridge overnight.

2. To Laminate, start by slicing the butter and filling a 7.5cm square on a larger piece of baking parchment. Place another baking parchment piece on top and roll out to 9.5cm square. Trim the uneven edges to 8.5cm square and place the trimmings on top, gently even out the thickness. Then refrigerate. To get an even thickness, roll from the middle to each side, rotating

IMG_2095

3. Take out the dough. Roll out to 20x30cm rectangle using the same method as above. BUT this time sprinkle both pieces of paper with flour. Take your butter out of the fridge and place in the centre so that a corner is facing an edge. fold each corner of the dough into the centre like an envelope. Roll out using the method above to a 20x30cm square. Fold the edges in like an envelope again and refrigerate for 30mins. Repeat this process 4 times. On the last time roll the dough out to 20x70cm, dust with flour, carefully fold and refrigerate overnight. Alternatively you can leave in the freezer for a couple of hours then the fridge for another couple of hours.

IMG_2096

4. Take the dough out and trim any curved edges. Using a pizza cutter/knife and a tape measure, mark 10cm intervals along the top. Mark 5cm along the bottom then continue in 10cm intervals. Using a ruler, cut diagonally towards the firs 5cm notch from the top left corner and then diagonally up to the first 10cm notch on the top, this will form a triangle. Continue. You should have 13 triangles and a few extra pieces for make into pain au chocolate’s (by filling with a square of good quality dark chocolate) or just odd shaped croissants.

5. Take a triangle, make a cut in the middle of the bottom and roll up to the point. Continue with the remaining triangles. Place on a lined baking sheet and brush with egg wash. Leave for 2 hours at room temperature to prove. .

6. Bake at 180oC fan for 6mins. Then turn the oven down to 150oC and bake for a further 8-9mins. They can be reheated, not as good as freshly baked, but almost.

IMG_2110 IMG_2111

A Night at the Opera

Next on tour of French Patisserie is a classic combination of coffee, chocolate and cream (the French Tiramisu) and a homage to my other passion, the Opera cake. This cake is technically difficult but melts in the mouth, when made correctly, and is almost as tasty as Tenor Jonas Kauffmann (Exhibit A https://www.youtube.com/watch?v=RzLR1OuDaKY&list=PL4_Y5duTlUpkLbLPRZ16uNo1Xxo_Fcr8Z). It was made famous in the 19th century by French Patissierie Dalloyau, which just so happens to be in the shadow of the Opera Garnier the building on which the pastry is based on. I assume that the many decadent layers of the cake are meant to mirror the decadent layers of the Opera Garnier. I should hopefully end up with perfect contrasting cream and brown layers with a smooth, shiny chocolate ganache on top.

Garnier Opera 5operacake

The First Challenge is the Almond sponge, I found the key here was to be very gentle with the mix, especially folding the egg whites, be very accurate with the measurements and trust your oven (i.e don’t open the door too early during cooking or the cake will sink). I also made this sponge mix in two batches (I only had one tin and didn’t want the mixture to deflate too much between cooking, of course if you happen to have 4 swiss roll tins lying around handy, you’re fine.)

Almond Sponge (serves 10)

150g icing sugar

5 tbsp flour

pinch of salt

140g ground almonds

1tsp vanilla extract

6 eggs

30g butter, melted and cooled

6 egg whites

2tbsp caster sugar

1. Mix the icing sugar, flour, salt and almonds together. Whisk in the eggs one at a time slowly before adding the vanilla. Then add the butter.

2. Whisk the egg whites to soft peaks, (you should be able to turn the bowl upside down on your head without the eggs falling out – I greatly enjoy doing this to other people). Add the sugar carefully and whisk to shiny peaks. Mix 1/3 into the almond mix, whisking together. Fold (using a metal spoon in a folding action) the remainder of the egg whites into the mix.

3. Spread a thin layer onto a lined swiss roll tin (34.5x 24.4cm). Make sure to use a palate knife to spread the mix to the ages, but try not to overwork it or it will lose the rise. Bake at 220oC for 6-8mins, until golden brown. Turn out onto a wire rack to cool. Repeat 4 times.

IMG_2066

For the Coffee Syrup

300ml water

150g sugar

3tsp expresso powder (I also like to add a drop of vanilla extract)

1. Stir the ingredients together until dissolved over a low heat, bring to the boil, boil for 1-2mins, remove from the heat.

IMG_2074

For the Coffee Buttercream

4 egg yolks

150g sugar

40ml water

pinch of salt

300g butter

2tsp expresso powder dissolved into 2 tsp boiling water

1. For this recipe you really need a kitchen aid (no-hand mixer) or a hand held electric whisk (but you may need help). It’s quite hard to do it without… Whisk the 4 egg yolks on high for 5mins until light and creamy.

IMG_20692. Meanwhile heat the sugar, water and salt in a pan until boiling. Boil until you get a clear syrupy consistency (roughly 115oC).

3. Immediately pour into the egg yolks little by little, like making mayonnaise, while the mix is still mixing. Add a bit then whisk some more and repeat. You should end up with a lighter pale mousse consistency. Keep whisking until cooled to room temperature (feel the sides of the bowl, if it is too warm the butter will melt into the mix and you won’t get the desired consistency.)

IMG_2070

4. Add the butter bit by bit and whisk until you get a white creamy mix. Add the expresso, cooled.

IMG_2071        IMG_2073

For the Ganache

100g dark chocolate 

15ml cream

60ml whole milk

(optional: 20ml white rum)

50g butter

1. Chop the dark chocolate finely and pour into a bowl. Heat the cream, (rum) and milk together and bring to the boil. Immediately pour over the chocolate and leave for 2-3mins. The chocolate should have melted. Mix to a smooth melted chocolate consistency if need be add more dark chocolate to achieve desired consistency and blast for 5-10secs in the microwave at a time to heat a little, before beating to melt. When chocolate is melted add the butter and mix till melted. Leave to cool to a spreadable consistency.

IMG_2077

For the Chocolate Glaze

200g dark chocolate

60g butter

1. Melt chocolate and butter together. Reserve some in a piping bag to pipe.

To Construct

1. Take 1 of the sponges. Lay down with the non-parchment side facing up. Temper 150g chocolate. (Melt at 20 sec intervals until almost all is melted – there should be a few lumps, take out and stir till all the lumps have melted = easy tempered chocolate). Spread this over the sponge in a thin layer, then leave to set in the fridge for 5mins (you don’t want it completely hard). Flip onto a cake board/whatever you want to serve the cake off. The chocolate bottom will make it easier to take the slices off the board later.

IMG_2075      IMG_2067IMG_2068

2. Soak the first sponge with coffee syrup, the more the better, but make sure to dab not pour the syrup over or you will just end up with a disintegrated sponge. Apply your first layer of buttercream, using a palate knife to smooth it down to about 1/2 cm thick.

IMG_2076

3. Top with the next sponge, parchment paper up. Remove the parchment paper and soak with coffee syrup. (NB you may want to refrigerate the cake between layers if your kitchen is very hot. But the buttercream will have to sit out a little so it can be spread.

4. Spread with chocolate ganache, then top with the next sponge and soak with syrup. Spread with more buttercream, top with the final sponge and soak with syrup.

5. Finally spread one more layer of buttercream, thinner than the others. This is mostly just to make the top smooth and fill in the cracks.

6. Finally pour over the glaze, spread evenly and quickly (mine wasn’t as even as I would’ve liked and the key is speed.)

IMG_2079

7. Let set for a little, then take a serrated knife and cut down each side to trim the edges. Keep refrigerated till served.

IMG_2085IMG_2084

London Calling

It was long ago decided my sister was going to be the rich sister, along the same time as she decided to go into Property and about the time I decided to go into food…. Unfortunately I can’t even claim to be the creative one in the family as she is both musical as well and way more fashionable than I am. What I can do however is cook for her friends when I am up. While my sister is not actually a bad cook, the fact that she was surprised that the list of ingredients included olive oil (which she didn’t have in the house) was possibly a good reason for me to intervene when cooking 3 courses for 8… London is still a little bit of a novelty for me. Having grown up in Oxford and barely ever leaving University in Cambridge during term time it’s still slightly exciting to use the tube, shop in Oxford street and go out in London (although the prices soon wear the novelty down). I was down in London to do a course in Wine course, 48 wines in 3 days (although of course you spit most of them away as you have to be pretty on it for the exam at the end of the 3 days). So now I should be able to tell you quite a lot about all the different grapes, where they come from, what they taste like and matching wines to food. (More on that later)

IMG_2046

So for the menu I cooked for my sister (aided I might add at this point by my sister’s lovely friend the business whizz, who came early to help. About 2 mins after I first met her she was chopping onions, absolutely brilliant) I made:


IMG_2052 IMG_2053  IMG_2054

Crunchy Butterbeans

1. Spread out 800g tinned Butterbeans or Garbanzo beans in an ovenproof dish. Sprinkle over sea salt, pepper, lime juice, paprika, pinch of cinnamon, pinch of cayenne pepper and a drizzle of oil.

2. Roast in the oven 190oC for 30mins, then turn down to 160oC and roast until crunchy, checking every 10mins to stir.

IMG_2051

White Gazpacho

1. Lay out 100g flaked almonds on a baking tray lined with foil. Toast at 200oC for 8-10mins until browned. Roast 2 heads of garlic at 200oC for30-40mins and then set aside to cool. Slice 100g white grapes in half and freeze with 100g quartered slices of cucumber.

2. Cut 375g white grapes in half and place in a bowl with 375g of chopped, skinless and seedless cucumber. Pour over 360ml natural yoghurt, a pinch of salt and pepper, 360ml water, 300g ground almonds, 360g sourdough bread, crust removed and torn into pieces and the roasted garlic cloves. (The best way to do this is using a serrated knife and slice of the bottom of the head of garlic and squeeze out the insides) Mix and leave overnight to marinade.

3. Blend the fridge mix together and season with salt, pepper and sherry vinegar to taste. Serve garnished with frozen grapes, frozen cucumber slices, flaked almonds and drizzle of oil.

Giant Couscous Paella, Roasted Cod, Crispy Ham, Pea Puree

1. Lay 140g Serrano ham (or Proscuitto) on a single layer on a lined baking tray nd roast for 6-8 mins at 200oC,, separate, cut into strips and leave to cool.

2. For the pea puree take 400g frozen peas, add 125ml vegetable stock, 3-4 garlic cloves, a bunch of mint, bunch of parsley and 2 tbsp Greek yoghurt. Blend together till smooth, season to taste. Refrigerate till ready to use.

3. For the Paella, soften 2-3 onions with 4-5 finely chopped garlic cloves and a pinch of salt in 2tsp olive oil. Add a splash of white wine, 4-5 strands of saffron, 1-2tsp paprika, 1-2tsp cayenne pepper and 2-3 red peppers cut into strips. Add 300g giant couscous and stir to coat for 2-3mins. Add 400ml stock and cook 8-10mins until the couscous is cooked.

4. For the cod, put 8 cod fillets skin up in a roasting tin, season and drizzle with olive oil. Roast in the oven at 200oC for 8mins until just translucent and the skin is beginning to crisp.

5. Place pea puree on the plate, put a circle of paella in the centre and top with the fish and crispy ham.

1. IMG_2050 IMG_2049

Lime Sponge, Lime, Tequila and Salted Caramel Syrup, Avocado mousse and White Chocolate Mint leaves

1. For the Syrup (1). Place 150g sugar in a pan. Add 50ml water, a large pinch of salt, 1 lime juice and zest. Bring to the boil and DO NOT STIR. Let bubble till it begins to turn very light orange, remove from the heat. Pour a little syrup into 8 greased, foil mini pudding basins. Leave to cool.

2. For the Sponge. Beat 170g sugar and 170g butter together until light and fluffy. Beat in 2 eggs, vanilla essence, zest of 1 lime and 1tsp cinnamon for 2-3 mins. Fold in 170g self raising flour. The mix should be pale yellow and not too thick, if it is too thick add a little milk. Spoon batter into the 8 pudding basins, filling up to halfway. Bake in the oven for 12-15mins at 140oC or until golden brown and cooked in the middle (check using a metal skewer, if it comes out clean the cakes are done. Set aside till ready to use.

3. For the Mint Leaves, Melt 100g white chocolate in a microwave in 20sec bursts. Pick individual mint leaves and pat completely dry. Dip the leaves in the mint and place on a greased, foil lined tray, place in the fridge to set.

4. For the mousse, mash 2 avocados and blend with 300g Greek Yoghurt (blending creates a lighter texture than just mixing). Add a small bunch of mint, a pinch of salt, 2-3tbsp of icing sugar and lime juice (to taste).

5. For the syrup (2). This syrup needs to be clear so make the syrup as step 1 but take it off the heat before it gets any colour and it should be thinner. Add 50ml white tequila. (This should be used warm)

6. To serve, turn out the sponges and drizzle with the warm syrup. Serve with the Avocado mousse and white chocolate mint leaf.


Tour de France

Since realising that I’ve finally left institutionalised education and actually have no fixed path anymore I’ve decided to branch out with my cooking. I seem to have had writers block during all the post exam furore ( hence the lack of posts recently) so I’ve decided to try and set myself challenges. In order to master these recipes I’ve always struggled with I’m going to read lots of different versions of the recipe to try and pinpoint the problems and come up with the best result. First up is Patisserie. I’ve never really mastered some of the classic French recipes so with a week of nothing to do but put off unpacking my university stuff, I decided to do a mini tour of the highlights of French patisserie. First up is choux pastry. In homage to the upcoming final leg of the Tour de France in Paris, I’ve decided to make  Paris Brest. This pastry was first made to commemorate the Paris-Brest bicycle race in 1910, ironically it was popular with the riders as it gave them a lot of energy but I can’t image that it would fit in with the intense nutritional programs of today’s competitors. It’s meant to look like a bicycle wheel, as exhibit A shows.

Paris Brest 4


I’ve had problems with choux pastry before. My profiteroles looked incredibly promising in the oven but sank the moment they came out leaving a soggy flat circle…. So this time I studied a number of different recipes to try and get it right this time. As far as I can tell the 3 things to be careful are

1. Don’t slack beating the flour and water mix before adding the eggs as the pastry needs a good support for the outer shell.

2. Don’t try to add all the eggs at once, the eggs need to be properly beaten so that the pastry rises enough.

3. Don’t take the pastries out of the oven too soon, even if it is a little brown, the pastries will sink if brought out too early.

The Recipe

1. Start by melting 150ml water and 50g butter and bring to the boil. Remove from the heat and beat in a pinch of salt and 75g flour into the mix so the dough is shiny and comes away from the pan. Return to the heat and beat for 2mins.

IMG_2059

2. Set aside to cool a little. When the mix is cool, add 2 eggs and a drop of vanilla essence, beating in 1 at a time. Beat well for 2-5mins until the mix is shiny and drops off the spoon.

3. Heat the oven to 200oC. Fill a piping bag with the mix and pipe circles onto a lined baking tray. (This is actually the hardest bit, try to make the thickness as equal as possible all the way round for a the prettiest finish) Brush the tops with egg yolk and then scatter over 50g flaked almonds. Bake in the oven for 10mins, then turn the heat down to 180oC and bake for a further 20mins until brown on top. As soon as they come out of the oven split the pastries in half lengthways. Leave to cool.

IMG_2061

4. For the filling, beat together 2 egg yolks and 40g sugar together until light and fluffy, then add 25g plain flour. Meanwhile heat 160ml whole milk in a pan with 1 tsp expresso powder and 1tsp vanilla extract. Pour the heated milk (not boiling) over the egg mix and whisk together. Return to the pan and cook over a low heat whisking constantly. When the mixture is thickened remove from the heat. Leave to cool (This is again where I went wrong – try to refrigerate this if possible as if you add the mixture too warm to the cream, the mix won’t be as thick in the pastries as it should be)

5. Beat 200ml cream to soft peaks. Fold in the patisserie cream and decant into a piping bag. Pipe between the pastry halves. Dust with icing sugar and serve.

IMG_2063 IMG_2062

As a side note I also had a go at making Kale chips (healthy crisps so I’m told). Simply remove the thick stalks of the kale leaves and tear into small pieces. Lay on a foil lined baking tray, sprinkle with salt and bake in the oven for 6-8mins at 200oC. It’s not quite the same as Walkers but they are pretty addictive.

IMG_2060

Gin in a Pint Shop

Gin in a Pint Shop

The end of exams calls for a celebration and what better time to try out the most recent addition to the Cambridge restaurant scene, The Pint Shop. I have often popped into this relatively new addition to the Cambridge restaurant scene for one of their amazingly diverse gin and tonics, from the more classically flavoured  Junipero 49.3% 12 Botanicals, Strong Juniper to the exciting  NB Gin 42% Grains of Paradise, Orris Root, Cassia Bark. (I am yet to find out what Grains of Paradise are…) I am also reliably informed that you can have the pint of the name there as well, although that’s  not really my style. These Gin and Tonics are made even more exciting by the sophisticated presentation of a sliver of lemon peel, plenty of ice and juniper berries, Wetherspoons take notice.

IMG_1641

So directly after spraying U4 with champagne as the final finalist, the staircase crowd plus extras headed down for lunch in plainly decorated back room of the shop, the back being the restaurant, the front the bar. One of the most appealing aspects for the students round the table was the set price lunch menu, 2 courses for £10, friendly to the student budget. We were immediately presented with hefty chunks of sourdough bread and slabs of butter gratefully received by the majority of the party who had missed breakfast due to their own exam celebrations the night before. (My only gripe was that the butter was unsalted, but it was nothing a little sea salt couldn’t fix).

IMG_1640

The girl Muso, Phantom and I all started with the intriguing sounding spiced cauliflower fritters with yoghurt sauce. I was impressed. They were light, but less pungent than an onion bajii and went well with the neutral yoghurt sauce. However the classicist next to me made me immediately jealous, a roast cauliflower, Raddichio and walnut salad (cauliflower is clearly in season) which looked amazing and I was assured tasted as good. I later found out that this is a bit of a house speciality in various forms, missed a trick. Altogether the starters were basic but showcased their produce.

IMG_1643IMG_1644

The main courses were pretty much along the same vein, basic but showcased seasonal produce. My mackerel with potato salad cannot, I’m afraid, be referred to as the best dish I ever had, but it was well seasoned and the mackerel melted in the mouth. Apparently those who had the pork were not so lucky. While the pork with roasted apple and mustard sauce was nice, the whole dish was severely let down by the rather odd large pickled fennel which was taking up most of the plate. Initially I thought that the girl Muso was exaggerating…but after tasting I can definitely say fennel is one of the few things that shouldn’t be pickled ever.

  IMG_1645IMG_1646     

Of course the real winner was Leporello, who decided to treat himself off the set menu. His steak with fried egg and bone marrow looked impressive and judging by the empty bone and plate it was pretty damn good. His and U4’s meals were accompanied by the sort of food I would normally have after 3am post clubbing but turned out to be an inspired choice. The Pint Shop is the only place I know that can elevate the humble chips with curry sauce to a sophisticated side order for lunch.

IMG_1648

All in all the Pint shop is a great place to go, but stick to the classic pub food, they do that best. Their cricket ball sized scotch eggs are next on my list, apparently they’re worth the trip to Cambridge.

Spreadsheets

Spreadsheets

I’ve been asked recently how to plan the perfect dinner party. As I am constantly shouting at the screen during ‘Come Dine with Me’ episodes – PLAN PLAN PLAN!!

Of course you don’t have to be as anal with me with your planning, a spreadsheet is not always necessary…. But here is Exhibit A of the way I have planned parties since I was about 12.. Works every time

Screenshot 2014-07-10 00.24.37 Screenshot 2014-07-10 00.24.46